
Use this test before opening a recorder or changing drivers. It answers a narrower question: does the browser receive a clean enough signal from the microphone you intend to use? Press Start, speak at the distance and level you will actually record, then make a short sample and listen back.
The sample is held as an in-memory browser Blob. Stop, discard, reload or close the tab to remove it.
How to read the microphone meter
The numbers are digital levels in dBFS. Zero dBFS is the digital ceiling, not an acoustic sound-pressure reading. A peak near 0 dBFS means the converter or browser stream has almost no headroom. It does not tell you how loud the room is in dB SPL.
| Result | What it means | Next move |
|---|---|---|
| Peak above −1 dBFS | The stream is at or very near the digital ceiling | Reduce interface or system input gain and repeat the loudest line |
| Peak from roughly −12 to −6 dBFS | A practical spoken-word starting range with useful headroom | Listen to the sample for room tone, handling noise and processing |
| RMS stays below about −45 dBFS while speaking | The selected input may be too quiet, too far away or muted | Confirm the device, distance and gain before boosting later |
| Meter moves in silence | You are seeing the current input chain, including gain and browser processing | Mute fans and HVAC, move the mic, or lower unnecessary gain |
These ranges are working guides, not a delivery standard. A drum hit, whispered narration and a video call need different margins. The point is to avoid clipping and avoid recording so quietly that later gain also raises the noise.
Run a useful 30-second check
- Select the real input after permission is granted. Device labels may be hidden before the browser has permission.
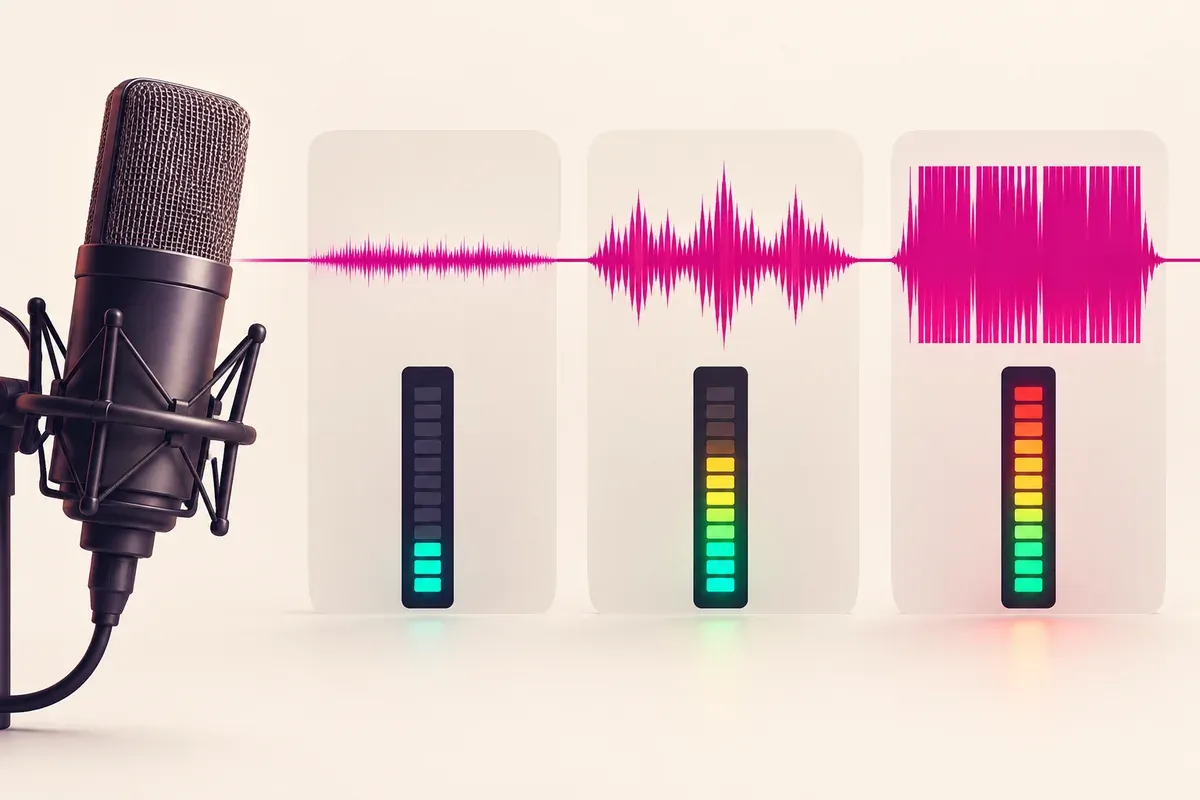
- Say a quiet phrase, a normal phrase and the loudest line you expect to record.
- Watch the peak, not just the moving average. A short overload can be easy to miss by ear.
- Record a short sample and listen on headphones. Check for plosives, hum, room echo, keyboard vibration and automatic gain changes.
- Stop the test before changing cables, interfaces or microphones. The Stop button ends every media track and the live analysis.
Why the noise reading is only an input-chain estimate
The page can measure the samples delivered by the browser. It cannot calibrate the microphone, preamp, interface or room. Input gain changes the reading. So can automatic gain control, echo cancellation and noise suppression. The settings line reports those values when the browser exposes them.
Use the quiet reading to compare one controlled change at a time: fan on versus off, microphone close versus far, laptop on the desk versus isolated. Do not label the result as the room's acoustic noise level.
If the meter is silent
Start with the selected device. A laptop may expose a built-in array, a webcam microphone and an interface at the same time. If the correct name is selected and the meter still does not move, check the hardware mute, interface gain and the operating system's input level. Close communication software that may hold the device in an exclusive mode.
If the browser says permission is blocked, change the microphone permission for this site in the browser's site settings. Repeatedly pressing Start cannot override a stored denial.
If the signal clips
Lower gain at the earliest controllable point. If the microphone or interface clips before the signal reaches the browser, pulling a fader down later only makes the clipped waveform quieter. Repeat the loudest phrase after every gain change and leave margin for a performance that is stronger than the rehearsal.
When the problem is a burst on P or B rather than broad overload, use the workflow in the plosive-removal guide; prevention with placement and a pop filter is usually cleaner than repair.
Privacy and browser support
The test calls the browser's getUserMedia() method only after Start. The live waveform comes from an AnalyserNode. The optional sample uses MediaRecorder and stays as a temporary Blob in this tab. There is no upload step.
Microphone access requires HTTPS and a browser that supports the relevant media APIs. Stop, Discard, reload and closing the tab all remove the in-memory sample; Stop also ends the microphone tracks.
What this test cannot diagnose
It cannot identify a damaged capsule, measure frequency response, certify a noise floor, calculate dB SPL or prove that a Sound Forge recording route is correct. For editor-specific input and driver problems, use the Sound Forge recording troubleshooting guide. This page is the quick browser-side check before that deeper path.