
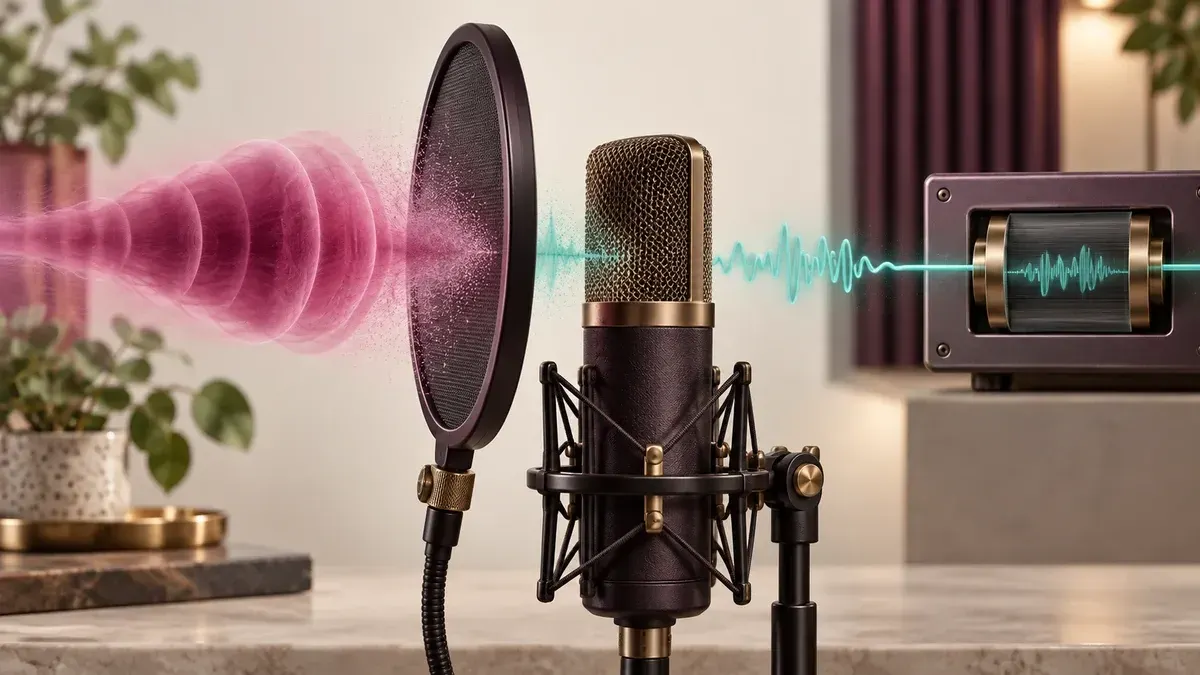
A plosive is a short burst of air that hits the microphone on consonants such as P and B. On the waveform it may look like an oversized low-frequency thump, but the useful consonant and the unwanted blast often overlap. That is why a broad high-pass filter across the whole recording can solve one problem by making the voice sound smaller.
Start with the smallest repair
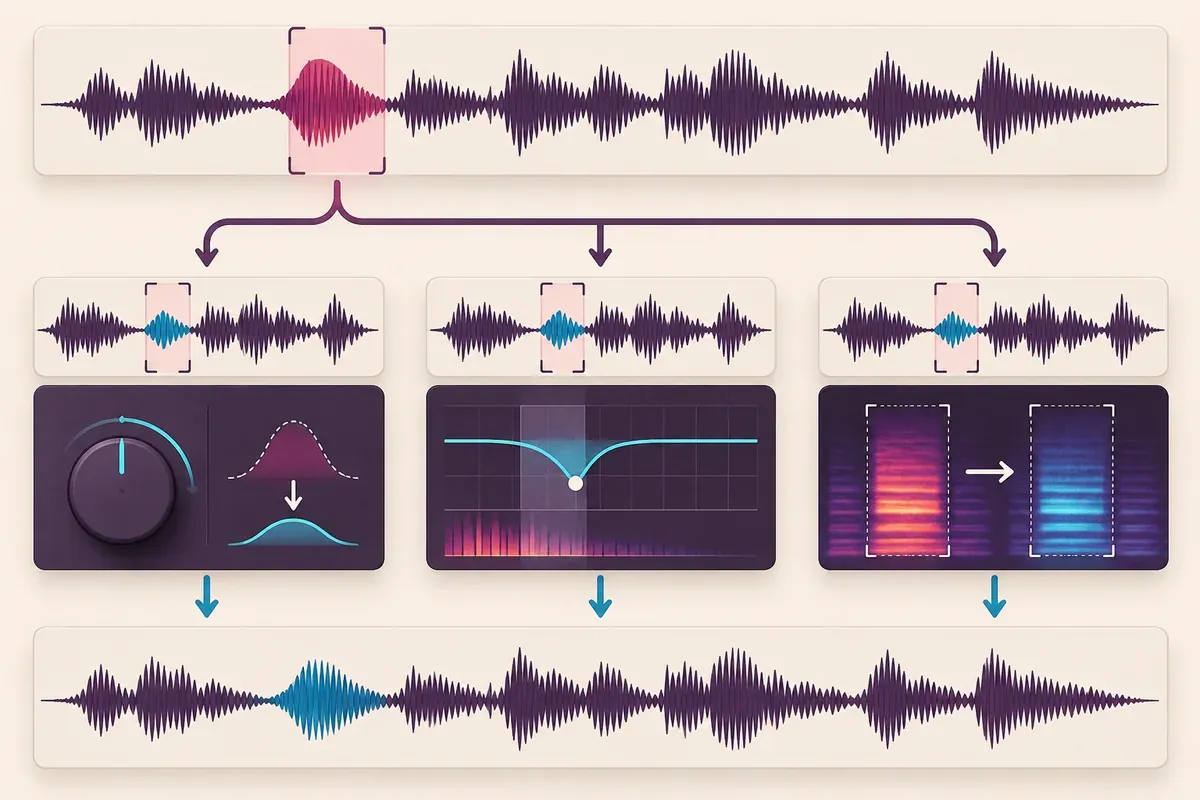
My preferred order is local level reduction, local low-frequency control, then spectral repair if the burst still calls attention to itself. Each step should affect only the plosive and its immediate transition into the next sound.
- Duplicate or preserve the source. Work on a copy or save a new version before destructive editing.
- Find the actual burst. Listen at normal speed, then inspect the first few tens of milliseconds around the consonant. Do not select the whole word by habit.
- Reduce level first. Lower the selected burst or use a short volume envelope. A modest change often controls the pressure wave without dulling the syllable.
- Apply local low-frequency reduction. If the thump remains, use a high-pass filter or low-shelf cut only on the problem area. Move the cutoff while listening in context rather than copying a number from another voice.
- Use spectral repair for the residue. When the blast is visible as a concentrated low-frequency event, attenuate that region instead of processing the full spectrum.
- Repair the boundaries. Add tiny fades or crossfades if the edit clicks, then compare the repaired phrase with the untouched audio before and after it.
Why a global high-pass filter often goes too far
A high-pass filter is useful when the recording has continuous rumble or when every plosive shares the same low-frequency problem. It is a poor first choice for one or two isolated blasts. A permanent filter changes vowels, chest resonance and proximity effect throughout the file, while the defect may last only a fraction of a second.
If you do use a global filter, set it for the recording rather than the label “voice.” Raise the cutoff until the thumps improve, then back it down until the body of the voice returns. Compare at matched loudness; a brighter result can seem clearer simply because its midrange is more exposed.
A decision map for difficult plosives
| What you hear | Likely repair | What to protect |
|---|---|---|
| A soft puff with no obvious thump | Short level reduction or volume envelope | The attack that makes the word intelligible |
| A deep P or B thump | Local high-pass or low-shelf cut after level repair | Vowel weight immediately after the consonant |
| A broad blast covering speech detail | Spectral attenuation in several light passes | Upper harmonics and the natural transition into the word |
| A click at the edit boundary | Move the boundary to a zero crossing or add a tiny crossfade | Timing and consonant definition |
| Dozens of similar plosives | Consistent preset or batch-assisted pass, followed by spot checks | False positives on kick drums, handling noise and low male vowels |
What Sound Forge can do in this workflow
Sound Forge gives you sample-level selection, gain changes, EQ, fades and plug-in processing in a single-file editor. The exact tool matters less than the selection. Zoom far enough to include the pressure burst without cutting away the consonant, preview the edit in the full sentence, and keep the original available for comparison.
If you have a dedicated restoration plug-in, use it as a targeted repair rather than an automatic excuse to process the entire file. iZotope describes De-plosive as a tool for attenuating low-frequency plosive energy while preserving the voice; that still requires listening for missed events and overcorrection.
Prevention is cleaner than restoration
Shure and RØDE both point to microphone position and a pop filter as the first defense. Place the microphone slightly off axis so the air burst does not strike the capsule directly. Keep the pop filter far enough from the capsule to slow the air before it reaches the microphone, and keep the speaker's distance reasonably consistent.
A high-pass filter on the way in can reduce rumble, but it cannot undo capsule or preamp overload. Record a short phrase with repeated P and B sounds before the real take. The online microphone test can expose the burst and clipping risk before you open the editor.
Quality check before export
- Listen to the repaired word in the full sentence, not only in a loop.
- Compare before and after at similar loudness.
- Check headphones and speakers; a plosive can disappear on small speakers yet remain obvious on headphones.
- Listen for a missing consonant, a hollow vowel or a click at either boundary.
- Scan the rest of the file for events that need the same treatment, then run the audio export QA checklist.
Sources and scope
This workflow is based on documented microphone practice and restoration methods, not a claim that we recorded or tested a particular microphone. See Shure's home recording guide, RØDE's mouth-noise guidance, and iZotope's plosive-removal workflow.