
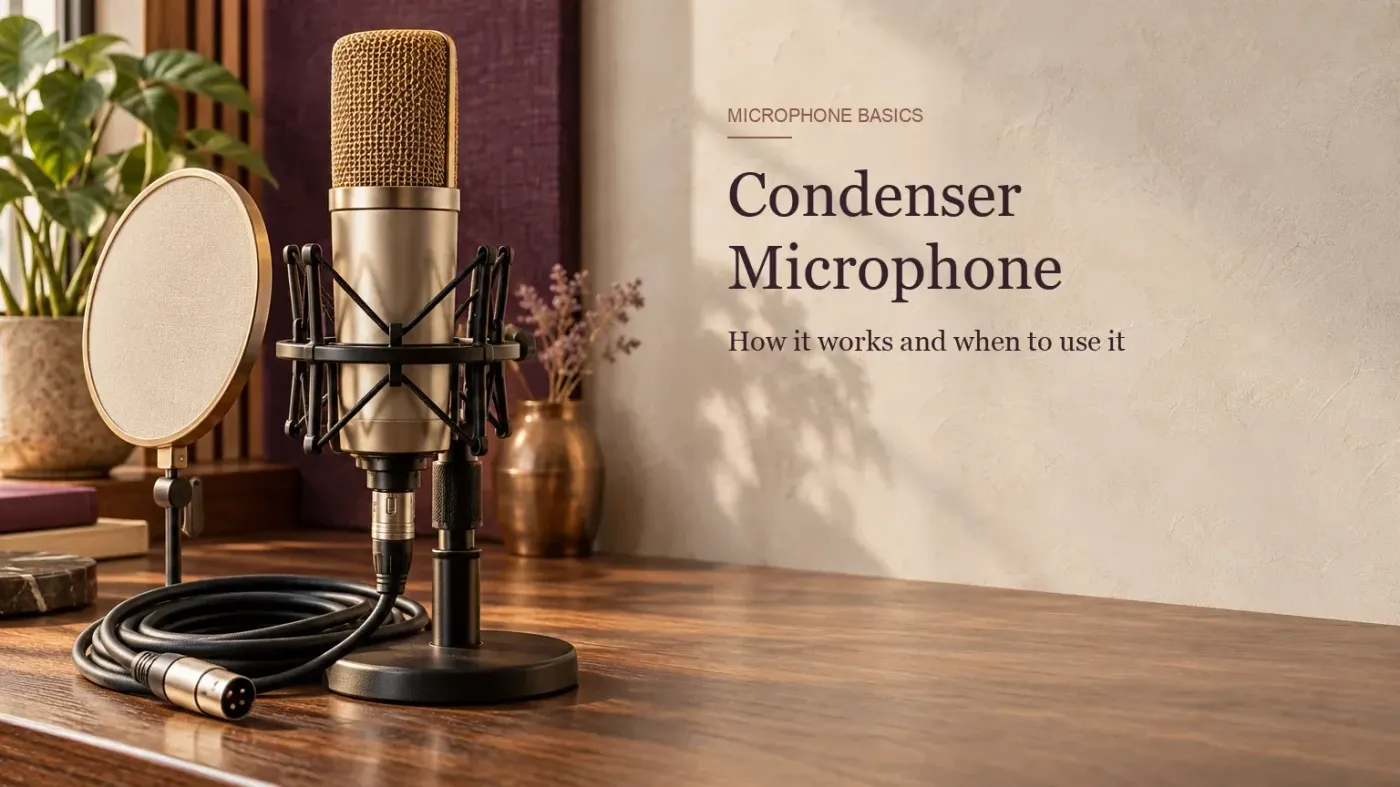
A condenser microphone turns sound into an electrical signal with a thin conductive diaphragm and a fixed backplate that form a capacitor. Its capsule and active electronics need power, but that does not mean every condenser uses 48-volt phantom power. The right choice depends on the source, recording distance, room noise, polar pattern, self-noise and maximum sound level.
What is a condenser microphone?
“Condenser” is the older name for a capacitor. Inside the capsule, a lightweight diaphragm sits very close to a rigid backplate. Together they act as the two plates of a capacitor. When sound moves the diaphragm, the distance between the plates changes, so the capacitance changes with the waveform. DPA defines this as an electrostatic microphone design; it is a different way of converting acoustic movement than the moving-coil mechanism in a typical dynamic microphone.
The capsule signal has extremely high impedance and cannot simply travel down a normal microphone cable on its own. An impedance converter and other active electronics turn it into a useful output. Neumann’s capsule explanation shows the diaphragm, backplate and impedance-conversion stages as separate parts of the same system.
Does a condenser microphone need phantom power?
A condenser needs power for its active circuitry, but 48 V phantom power is only one delivery method. Many studio XLR condensers use P48 from an audio interface, mixer or external preamp. USB microphones receive power over USB. Compact electret microphones may use low-voltage plug-in power, some models accept batteries, and tube microphones commonly ship with a dedicated supply.
| Microphone connection | Likely power source | What to check |
|---|---|---|
| Professional XLR condenser | Often 48 V phantom power | The voltage range in the manual and whether the interface supplies it |
| USB condenser | USB bus power | Supported port, cable and operating-system requirements |
| 3.5 mm electret lavalier or compact mic | Often plug-in power | Device compatibility; plug-in power is not the same system as P48 |
| Battery-capable condenser | Internal battery or phantom power | Battery type, switch position and allowed alternatives |
| Tube condenser | Dedicated external supply | Use only the specified supply and cable |
Phantom power places equal DC voltage on the two signal conductors of a balanced XLR connection while the audio travels over the same cable. Shure’s phantom-power explanation describes why equal voltage does not become part of the differential audio signal. That design does not make every adapter, damaged cable or microphone safe. Use the power method named by the microphone manufacturer.
What does a condenser microphone sound like?
There is no single “condenser sound.” The category includes tiny lavalier capsules, pencil microphones, large studio models, measurement microphones and stage condensers. Capsule size, tuning, polar pattern, electronics and placement can matter as much as the transducer family.
The low-mass diaphragm often allows strong transient detail and useful high-frequency extension. Higher sensitivity can also produce more output from quiet sources. It does not prove that a microphone is more accurate or better: Shure’s sensitivity guide explicitly separates output level from microphone quality.
A sensitive microphone used farther from the source can make room reflections, computer fans and street noise more obvious. That is a placement and signal-to-noise problem, not a rule that a condenser “hears everything.” RØDE’s practical guide notes the tendency to capture unwanted background sound in reflective rooms. In a difficult space, move the microphone closer, aim its rejection toward the noise, reduce reflective surfaces where possible, and solve the cause before reaching for audio noise reduction software.
Four specifications that matter
Polar pattern
Cardioid, omnidirectional and figure-eight describe directionality, not sound quality. Read the pattern chart and place unwanted noise toward an area of stronger rejection.
Sensitivity
This tells you how much electrical output the microphone produces for a stated sound pressure. Higher sensitivity can reduce the gain required from the preamp, but it is not a quality score.
Self-noise
The active electronics add their own noise. A lower A-weighted self-noise figure matters most for quiet sources, distant recording and passages with wide dynamics.
Maximum SPL
This is the loudest specified sound pressure the microphone can handle within a stated distortion limit. A pad may raise the usable ceiling on models that include one.
Self-noise and maximum SPL describe opposite ends of the usable range. A microphone for quiet acoustic detail benefits from low self-noise; one placed close to a snare, brass bell or loud cabinet needs enough SPL headroom. The Shure recording guide explains both figures and why electronic overload can happen before the capsule itself reaches a mechanical limit.
When should you use a condenser microphone?
| Recording task | Condenser fit | Decision point |
|---|---|---|
| Lead vocals in a treated or quiet room | Often a strong fit | Choose the polar pattern and distance for the voice; manage plosives with position and a pop filter |
| Acoustic guitar, piano, strings or percussion detail | Often a strong fit | Check transient response, self-noise and the room contribution |
| Podcasting or streaming at a desk | Depends on the room | Close placement and cardioid rejection matter more than the word “condenser” |
| Untreated bedroom with fans or traffic | Use with care | Improve distance and noise control; a dynamic may be easier to manage |
| Close loud drums, brass or guitar cabinet | Model-dependent | Verify maximum SPL and engage the microphone pad if its manual calls for it |
| Live stage with high monitor level | Application-specific | Feedback margin, handling noise, durability and pattern consistency can outweigh extra sensitivity |
| Field recording | Application-specific | Wind protection, weather tolerance, battery life and connector power are decisive |
For spoken-word work, microphone choice is only the first step. After the recording chain is clean, use a consistent podcast loudness target or the appropriate streaming loudness standard for delivery.
Condenser or dynamic: the practical distinction
A dynamic moving-coil microphone generates its signal through a diaphragm, coil and magnet and normally needs no power at the capsule. It is often chosen for durability, loud sources and stage work. A condenser uses a capacitive capsule plus active electronics and is often chosen when sensitivity, transient detail or a small diaphragm is useful.
That is an orientation, not a winner. A close dynamic in a noisy room can produce a cleaner voice recording than a distant condenser. A condenser rated for high SPL can work perfectly well on loud instruments. Compare the exact models, distance, polar pattern and room instead of choosing from category stereotypes.
“Condenser” and “large-diaphragm condenser” are not synonyms
Large-diaphragm condensers are one part of the category. Small-diaphragm “pencil” microphones, miniature electret lavaliers, shotgun microphones and measurement microphones can also use condenser principles. Diaphragm size affects engineering tradeoffs, but it does not let you predict “more bass” or “better vocals” without the response, polar behavior and placement of the specific microphone.
How to connect an XLR condenser safely
- Check the manual.Confirm the connector, required phantom voltage and any dedicated supply or adapter.
- Turn the gain and monitor level down.Switch phantom power off before making the connection.
- Connect a balanced XLR cable.Seat both ends fully and avoid loose adapters or damaged cables.
- Enable phantom power only if required.Allow the circuit a few seconds to settle, then raise gain while watching the input meter.
- Set position before chasing gain.Move the microphone closer or adjust its angle if the voice is quiet or the room is too prominent.
- Power down before disconnecting.Lower gain, switch phantom power off, wait briefly, then unplug.
Once connected, you can test the microphone in your browser to confirm that the operating system and browser receive a signal. That check does not replace setting gain in the recording application or listening for clipping, hum and room noise.
Quick choice checklist
- Choose the source and distance first. Quiet sources and detailed acoustic recording may favor a condenser; close loud work may favor either type depending on the model.
- Listen to the room. If the recording position captures fans, traffic or hard reflections, fix distance and environment before buying for “detail.”
- Match the polar pattern to the placement. Directionality is useful only when the microphone is aimed with both its pickup and rejection areas in mind.
- Check power and connector compatibility. Never assume that an XLR plug, USB cable or 3.5 mm adapter supplies the right power.
- Read self-noise and maximum SPL in context. The best figure depends on whether the source is very quiet, very loud or somewhere between.
A condenser microphone is a strong choice when its sensitivity, pattern, noise floor and SPL capacity match the job. Start with the source and room, then choose the power system and specifications that support that setup. The label on the box should confirm the decision, not make it for you.