
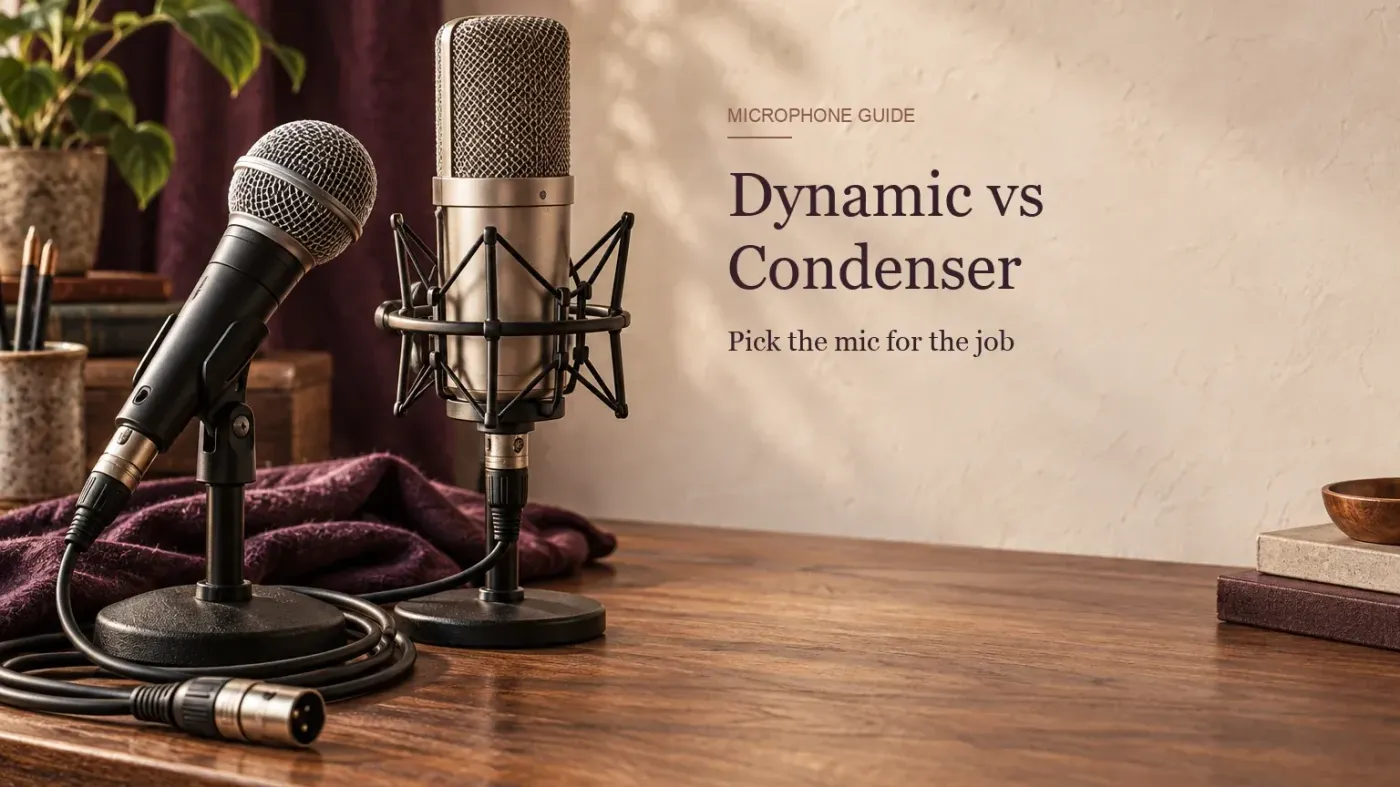
Choose a dynamic microphone when you can work close and want a sturdy, lower-output mic for a loud or nearby source. Choose a condenser when higher output, fine transient detail or a little more working distance helps—and the room is quiet enough to support it. Neither type automatically rejects background sound, and neither one owns “studio quality.” The practical choice comes from the source, distance, polar pattern, room and recording chain.
Dynamic vs condenser microphone at a glance
| Decision point | Moving-coil dynamic | Condenser |
|---|---|---|
| How it works | A diaphragm moves a coil through a magnetic field | A diaphragm and backplate form a capacitor; active electronics turn capsule changes into a usable signal |
| Power | Passive models generally need no capsule power | Needs an appropriate power source; many XLR studio models use phantom power, but not all condensers use P48 |
| Typical output | Often lower, so more preamp gain may be needed | Often higher, which can reduce the gain required from the preamp |
| Electronic self-noise | No active microphone electronics in a passive moving-coil design; the preamp and rest of the chain still add noise | Active models publish a self-noise specification that matters most on quiet sources |
| Loud sources | Commonly comfortable with close, high-level sources | Model-dependent; many condensers have high maximum-SPL ratings and some add a pad |
| Handling | Often selected for rugged stage and portable use | Ranges from robust stage condensers to more delicate studio designs |
| Room sound | Close placement can strengthen the direct voice relative to the room; lower output itself does not reject room sound | Distant placement can make reflections and background sound more obvious; compare pattern and distance at matched levels |
| Common fit | Live vocals, podcasting close to the mouth, guitar cabinets, drums and handheld use | Studio vocals, acoustic instruments, overheads, piano, ambience and detailed capture |
Those are tendencies, not promises. A cardioid condenser used five inches from a speaker can capture less room than an omnidirectional dynamic placed two feet away. A low-sensitivity dynamic can also produce a noisier result if the interface preamp is pushed hard. Compare the setup, then compare the models.
How the two microphone types work
Diaphragm, coil and magnet
Sound moves the diaphragm and its attached voice coil inside a magnetic field. That motion generates the electrical signal. A passive moving-coil microphone does not need active capsule electronics.
Diaphragm, backplate and electronics
Sound changes the distance between a conductive diaphragm and a fixed backplate, changing the capsule’s capacitance. An impedance converter and output electronics turn that tiny change into a practical microphone signal.
Shure’s operating-principle comparison shows the coil-and-magnet structure of a moving-coil dynamic beside the charged diaphragm-and-backplate structure of a condenser. The mechanism explains several common tendencies, but it does not dictate the polar pattern or guarantee one sound. Condenser capsule types and power arrangements vary beyond this comparison; the condenser microphone guide covers those choices in detail.
Which type is better in an untreated room?
A dynamic is often the easier choice for speech in an untreated room, but the useful advantage usually comes from working close and increasing the direct-to-room ratio. The microphone receives a stronger direct voice relative to reflections when you move closer. You can then use less preamp gain for the same recorded level. Lowering gain alone does not change the voice-to-room ratio.
The label on the microphone does not create acoustic noise cancellation. Distance, aiming and directionality do the heavy work. Shure’s recording-techniques guide treats microphone distance and directional characteristics as separate choices because both change the balance of direct sound and room reflections.
Move the microphone close enough for a strong direct signal without creating plosives, excessive proximity effect or an uncomfortable performance.
Point the least-sensitive part of the selected polar pattern toward the loudest unwanted source when the microphone’s pattern chart supports that placement.
Turn down speakers, move the computer, close the window and reduce hard nearby reflections before asking software to repair the recording.
Sensitivity, gain and noise: follow the complete chain
Sensitivity tells you how much electrical output a microphone produces for a stated acoustic input. Condensers often provide more output, while many moving-coil dynamics need more preamp gain. Shure’s sensitivity guide makes the key distinction: sensitivity is an output specification, not a score for sound quality.
A passive moving-coil dynamic has no active microphone electronics producing a published self-noise figure. That does not make the recording noise-free. If its output is low, the interface may need substantial gain, and the preamp’s equivalent input noise becomes more noticeable. A condenser adds its own electronic self-noise, yet its higher output may ask less of the preamp.
For a soft voice or quiet acoustic instrument, compare microphone sensitivity, condenser self-noise where applicable and the interface’s available clean gain. For a loud cabinet or snare, those limits are less likely to decide the purchase.
Power and connections
Most passive moving-coil dynamics work from an XLR microphone input without phantom power. Many studio condensers need phantom power from the interface or preamp, but the requirement belongs to the individual model. USB condensers receive power over USB; electret and tube designs may use other systems.
Neumann’s interface connection guide recommends making the XLR connection with gain and phantom power down, enabling the required power after the connection is secure, and lowering the system again before disconnecting. Follow the microphone and interface manuals when their sequence or power requirement differs.
Once the microphone is connected, use our online microphone test for level, clipping and background noise at your intended working distance. A short listening sample can reveal a problem in the setup before you judge the microphone type.
Can condenser microphones handle loud sources?
Yes—if the model’s maximum SPL and pad arrangement suit the source and placement. “Condenser” does not mean “quiet sources only.” The specification sheet is more useful than the category slogan.
The guide specifies this limit at 1 kHz under those conditions; a 1 kΩ load lowers the rating.
Another current condenser specification that contradicts the idea that all condensers overload easily.
The KSM27 guide specifies 152 dB SPL at 1 kHz with its −15 dB pad and a load of at least 2.5 kΩ (147 dB SPL into 1 kΩ), while Neumann rates the TLM 102 for 144 dB SPL at 0.5% THD. These figures do not prove that every condenser fits every loud source. They prove that you must check maximum SPL, distortion conditions, pad settings and placement for the model in front of you.
Which microphone fits each recording job?
| Recording job | Useful starting point | What can change the answer |
|---|---|---|
| Podcast or stream in a reflective room | Dynamic | Close placement, a compatible polar pattern and enough clean interface gain matter more than the category alone |
| Podcast or stream in a quiet treated room | Either | A condenser offers more output and often more fine detail; a dynamic can still give the voice the preferred tone |
| Sung lead vocal | Either | Voice, performance distance, plosives, room, frequency response and desired texture decide the model |
| Acoustic guitar, strings or detailed percussion | Condenser | A dynamic can work when isolation, close placement or a softer top end serves the arrangement |
| Guitar cabinet or close drum | Dynamic | A condenser with adequate maximum SPL and a suitable frequency response can be equally valid |
| Drum overheads, piano or room pair | Condenser | Pattern consistency, self-noise, phase relationship and room quality become central |
| Handheld live vocal | Dynamic | Stage condensers are viable when handling noise, feedback margin and power are controlled |
| Travel, rehearsal and rough handling | Dynamic | A robust powered microphone may still win when output and detail are more useful than passive simplicity |
I would treat every row as a starting point, then listen for the reason to change it. “Dynamic for stage, condenser for studio” is quick shopping advice. It is not a recording rule.
Specifications to compare before buying
- Polar pattern and off-axis behavior. A cardioid label alone does not show how the microphone responds at different frequencies or angles.
- Sensitivity. Use it to estimate output and gain demand, not to rank fidelity.
- Frequency response. Read the graph and stated test conditions; do not reduce it to one advertised range.
- Maximum SPL and pad. Check the distortion threshold and whether the published maximum assumes an engaged pad.
- Self-noise. Relevant for active microphones on quiet or distant sources; less decisive beside a loud source.
- Power and connector. Confirm phantom voltage, USB requirements, battery or dedicated supply and interface compatibility.
- Physical use. Weight, mount, handheld noise, wind protection and durability can decide the real-world winner.
A simple decision sequence
- Name the source.Is it a quiet voice, acoustic instrument, loud amplifier, drum, stage vocal or room?
- Choose the working distance.Close placement favors direct sound; more distance includes more of the room.
- Map unwanted sound.Identify reflections, fans, traffic, monitors and other instruments, then choose and aim the polar pattern.
- Check the chain.Confirm power, connector, microphone output and enough clean preamp gain.
- Read the model specifications.Use sensitivity, self-noise, maximum SPL and response data to rule models in or out.
- Choose the voicing and handling you prefer.Once the setup works technically, frequency response, transient character, size and durability can make the final decision.
The final choice
Pick a dynamic microphone when close placement, rugged handling and a controlled result from a loud or nearby source are the priorities. Pick a condenser when higher output, detailed transients or a wider practical working distance help and the room can support them.
If background sound is the problem, solve distance and directionality before blaming the transducer type. If noise is the problem, follow the signal from source level through microphone output and preamp gain. If loudness is the problem, read the actual maximum-SPL specification. That process gives you a microphone that fits the recording instead of a category that merely sounds familiar.